5 Types Of Eyeliner You Need To Master
By: Sandeep Gupta Sat, 28 Dec 2019 09:17:45
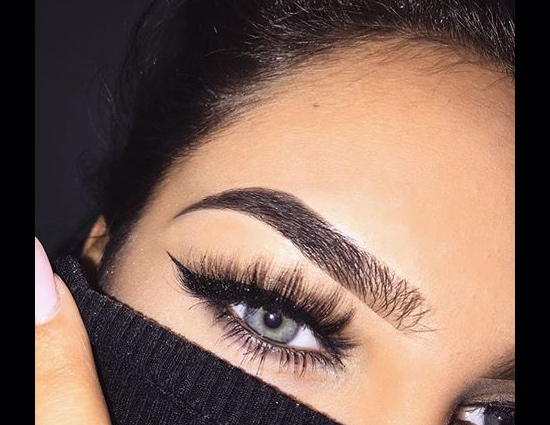
Gone are the days when creating a traditional winged eyeliner look (popularly called ‘cat eye’) used to fetch lots of attention and appreciation. Beauty enthusiasts are getting versatile, thereby experimenting with new looks and styles day by day. Modifications of the standard winged eyes are a result of these experiments. In this post, we will talk about 5 different versions of winged eyes that you should master right now:
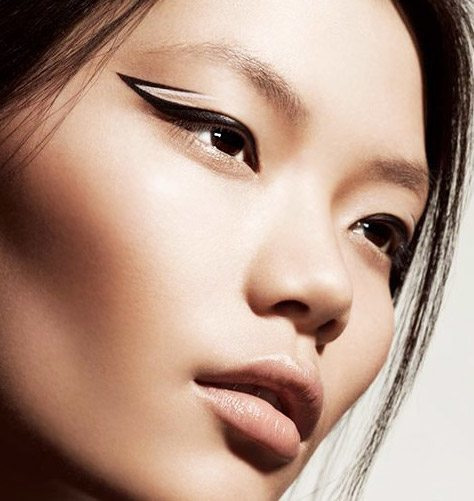
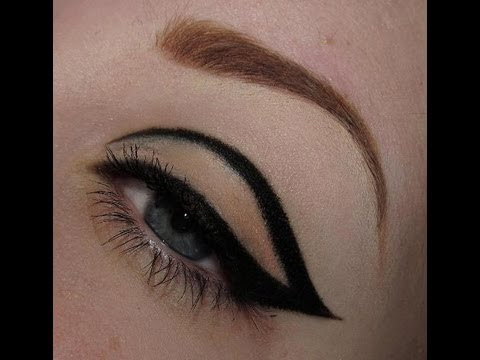
* Cutout Cat Eye
- Start with applying a liquid liner along the upper lash lines of your eyes. Don’t make it too thick and try to be as smooth as possible.
- Flick the lines outward to get regular winged tips.
- Now, starting from the center of your each eyelid, create another line along the crease in an outward direction. You can also move the starting point a bit further to the outer corner of the eyes.
- Join both of the lines at the outer edges of eyes to create sharp angles.

* Double Winged
- At first, create the regular single winged liner look by applying the liner along your top lash lines. Extend the flicks outward and a little upward.
- Draw the second wings parallel to the first ones starting right from the outer corners of your eyes.
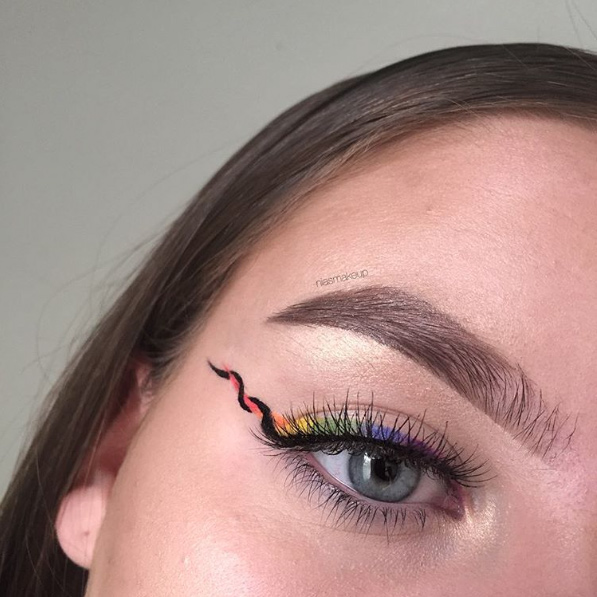
* Twisted Cat Eye
- By using a gel eyeliner, draw thick solid lines along the upper lash lines of your eyes. A liquid liner will work too.
- Carefully extend the outer edges of the lines into winged tips.
- Now, draw thin lines along your lower lash lines starting from the centers of the lower eyelids.
- Extend the length of the lower lines keeping them parallel to the upper wings. These should actually be small flicks, which look like second wings.
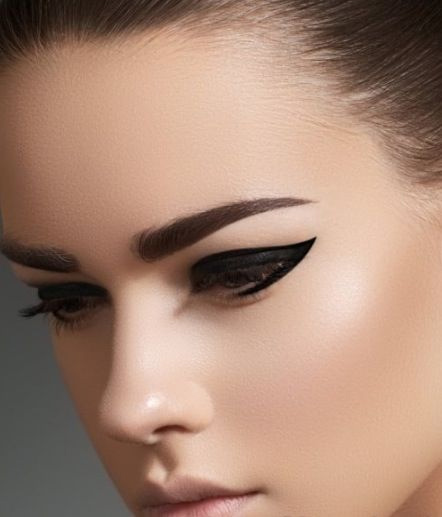
* Bold And Dramatic
- Apply the liner flawlessly along your upper lash lines. There should be no gap in between the edges of the upper eyelids and the lines drawn.
- Extend the lines in outward direction creating long sheer wings. Make sure that you stretch them at least a few millimeters beyond the outer corners of your eyes. A piece of scotch tape might be helpful for this job.
- Now, start drawing lines from the tips of wings to meet the inner corners of your eyes. These should be curved diagonal lines running a little below the creases.
- Fill the spaces between the lines with the liner. For a shining appearance, choose gel eyeliner over pencil or liquid ones.
* Graphic Wings
- Apply the liner along the upper lash lines as closely as possible starting from the inner corners of your eyes.
- Extend them outward and a little upward to create wings.
- Now, cut a tiny triangular piece of scotch tape and stick it to one of your eyelids in such a manner that one point touches the lined lash line while one side faces the crease.
- Starting from the inner corner of the eye, draw a curved line following the natural shape of your lid. It should run right below the crease and cross over the scotch tape.
- Extend the curved line beyond the eyelid and connect it with the previously drawn wing.
- Fill the space in between the lines with the liner and let it dry.
- Remove the scotch tape carefully.
- Repeat the steps 3 to 7 for the second eye too.


