6 DIY Cooling Face Masks To Try This Summer
By: Priyanka Maheshwari Tue, 16 May 2023 10:34:34
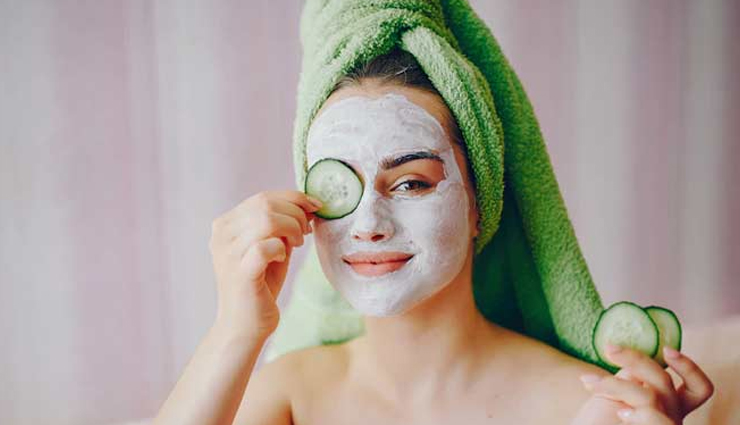
As the summer heat intensifies, finding effective ways to stay cool and comfortable becomes a priority. One innovative solution is creating your own cooling face masks at home. These masks not only provide the usual benefits of a face covering, such as reducing the spread of germs and allergens, but also offer a refreshing and cooling sensation to combat the sweltering heat.
In this guide, we will explore various methods to make cooling face masks using easily accessible materials. Whether you prefer a DIY project or want to customize your face mask to suit your needs, these homemade cooling masks are a great way to beat the summer heat while keeping yourself protected.
Before we begin, it's important to note that while these masks can provide a cooling effect, they are not a substitute for medical-grade masks or personal protective equipment (PPE) in high-risk situations. Always follow the guidelines and recommendations of health authorities and use appropriate masks when necessary.
Now, let's delve into some methods for creating cooling face masks at home, using simple ingredients and materials you likely already have on hand. Whether you prefer a gel-based mask, a fabric mask with cooling inserts, or an infused mask, we have you covered. Get ready to stay cool and stylish during the hot summer months with these DIY cooling face masks.
# The Stress Relief Mask
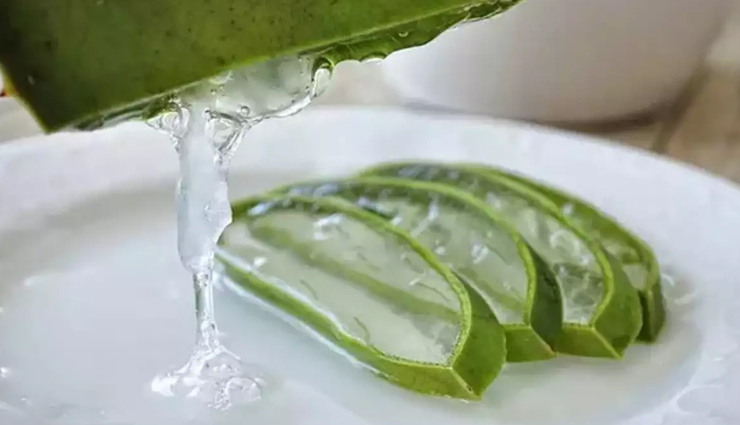
If you're looking for a cooling face mask that not only keeps you comfortable in the summer but also helps to relieve stress and promote relaxation, then the Stress Relief Mask is perfect for you. This mask combines the soothing benefits of essential oils and the cooling sensation of a gel-based mask. Here's how you can make it at home:
Materials you'll need:
Gel-based face mask or aloe vera gel
Essential oil of your choice (lavender, chamomile, or peppermint are great options for relaxation)
Fabric or disposable face mask
Small mixing bowl
Spoon or spatula for mixing
Optional: Aloe vera plant (if using fresh gel)
Instructions:
- Start by preparing the gel-based face mask or aloe vera gel. If you're using a pre-made gel-based face mask, follow the instructions on the packaging to prepare it. If you have an aloe vera plant, cut a small section of the leaf and extract the gel using a spoon or knife.
- Transfer the gel or aloe vera gel into a small mixing bowl. If you're using a pre-made gel-based face mask, you can add a little extra aloe vera gel to enhance its cooling effect.
- Next, add a few drops of your chosen essential oil to the gel or aloe vera gel. The essential oil will provide the stress-relieving properties and add a pleasant scent to your mask. Start with a small amount (2-3 drops) and adjust according to your preference. Mix well to distribute the oil evenly.
- If you're using a fabric face mask, apply the gel mixture evenly onto the inner side of the mask. Make sure to cover the areas that will come in contact with your face. If you're using a disposable mask, apply the gel mixture directly onto the mask just before wearing it.
- If you're using a fabric mask, let the gel mixture dry for a few minutes before wearing the mask. This will prevent the gel from transferring onto your skin immediately. If you're using a disposable mask, you can wear it right away.
- Put on your stress relief mask and adjust it to ensure a snug and comfortable fit on your face. Breathe in deeply and enjoy the cooling sensation and aroma of the essential oil as it helps to relax your mind and body.
Remember, this stress relief mask is not a substitute for medical-grade masks in high-risk situations. It's primarily meant for personal comfort and relaxation purposes.
# The Fresh Fruit Mask
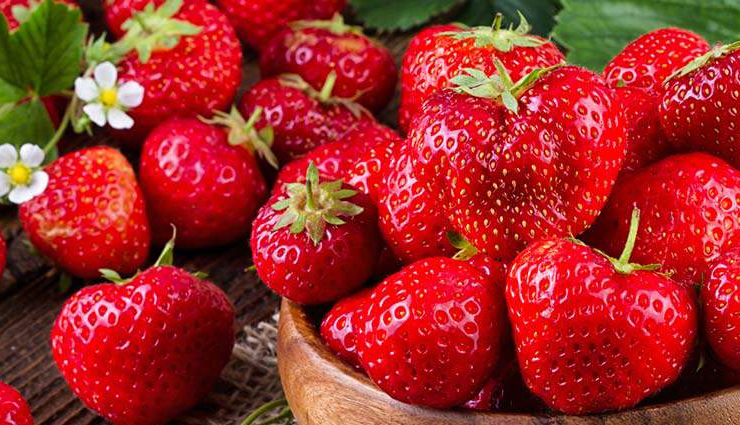
If you're looking for a natural and refreshing way to pamper your skin during the summer, a DIY fresh fruit mask is an excellent choice. Packed with vitamins, antioxidants, and hydrating properties, this mask will help nourish and rejuvenate your skin. Here's how you can make your own fresh fruit mask at home:
Materials you'll need:
Fresh fruits (choose one or a combination): strawberries, watermelon, cucumber, papaya, banana, or any other fruit suitable for your skin type.
Blender or food processor
Honey (optional, for added moisture and antibacterial properties)
Mixing bowl
Spoon or spatula for mixing
Fabric or disposable face mask
Instructions:
- Start by selecting your fresh fruits. Depending on your skin type and preference, you can choose one fruit or create a combination of fruits. For example, strawberries are great for brightening and tightening the skin, watermelon hydrates and soothes, cucumber calms and reduces puffiness, papaya exfoliates, and banana moisturizes.
- Wash the fruits thoroughly to remove any dirt or residue. Remove the seeds, peels, and stems as necessary.
- Cut the fruits into smaller pieces to make them easier to blend.
- Using a blender or food processor, blend the fruits until you have a smooth puree. If desired, you can strain the mixture to remove any remaining pulp or seeds, although keeping them in can provide additional benefits.
- Transfer the fruit puree into a mixing bowl.
- Optional: If you want to add extra moisture and antibacterial properties to your mask, you can mix in a small amount of honey. Honey also acts as a natural preservative. Start with about a teaspoon and adjust according to your preference.
- Stir the fruit puree and honey together until well combined.
- If you're using a fabric face mask, apply the fruit mixture evenly onto the inner side of the mask, making sure to cover the areas that will come in contact with your face. If you're using a disposable mask, apply the fruit mixture directly onto the mask just before wearing it.
- Put on your fresh fruit mask and adjust it for a comfortable fit on your face.
- Leave the mask on for about 10-15 minutes to allow the nutrients to penetrate your skin.
- Rinse off the mask with lukewarm water and gently pat your face dry with a soft towel.
Conclusion:
Creating your own fresh fruit mask is a delightful way to give your skin a nourishing and revitalizing treat during the summer. The natural goodness of fresh fruits provides a range of benefits, from hydration and exfoliation to brightening and soothing. So, gather your favorite fruits, blend them into a mask, and indulge in the refreshing and rejuvenating experience of a DIY fresh fruit mask for healthy and glowing skin.
# The Moisturising Avocado Mask
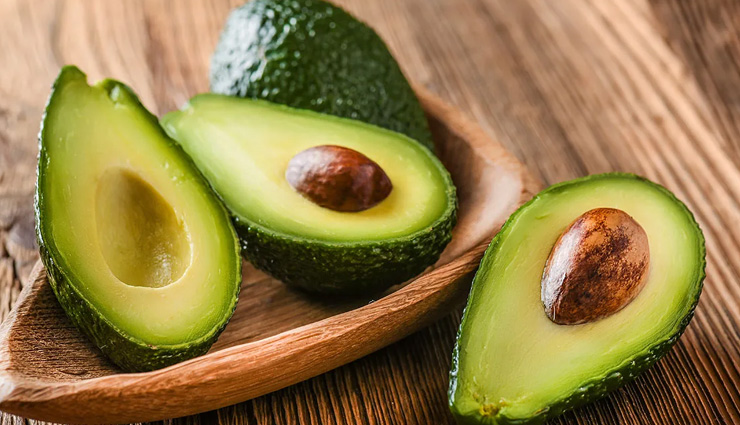
Avocado is known for its rich and nourishing properties, making it an excellent ingredient for a moisturizing face mask. This DIY avocado mask will help hydrate and rejuvenate your skin, leaving it soft, supple, and glowing. Here's how you can make it at home:
Materials you'll need:
Ripe avocado
Honey or yogurt (optional)
Lemon juice (optional, for oily or acne-prone skin)
Mixing bowl
Spoon or fork for mashing
Fabric or disposable face mask
Instructions:
- Start by selecting a ripe avocado. You can tell if an avocado is ripe by gently pressing it - it should yield slightly to pressure without being too mushy.
- Cut the avocado in half lengthwise and remove the pit. Scoop out the flesh and place it in a mixing bowl.
- Mash the avocado flesh using a spoon or fork until it becomes smooth and creamy. Alternatively, you can blend it in a food processor for a smoother consistency.
- If desired, you can add a teaspoon of honey or yogurt to the mashed avocado. Honey and yogurt provide additional moisturizing properties and help soothe the skin. Mix well to combine the ingredients.
- Optional: For those with oily or acne-prone skin, you can add a small amount of fresh lemon juice to the mixture. Lemon juice helps to balance oil production and has a brightening effect. However, be cautious with lemon juice if you have sensitive skin, as it can be drying.
- Once your avocado mask mixture is ready, apply it evenly onto the inner side of a fabric face mask or directly onto a disposable mask.
- Put on the avocado mask and adjust it for a comfortable fit on your face.
- Leave the mask on for about 15-20 minutes to allow the moisturizing properties to penetrate your skin.
- Rinse off the mask with lukewarm water and gently pat your face dry with a soft towel.
- Follow up with your regular skincare routine, such as applying a moisturizer to lock in the hydration from the avocado mask.
Conclusion:
By making your own DIY moisturizing avocado mask, you can provide your skin with the hydrating benefits of this nourishing fruit. Avocado is packed with essential fatty acids, vitamins, and antioxidants that help moisturize, repair, and protect the skin. So, grab a ripe avocado, mix it with some honey or yogurt if desired, and treat your skin to a rejuvenating and moisturizing experience. Enjoy the soft, supple, and glowing results of a homemade avocado mask.
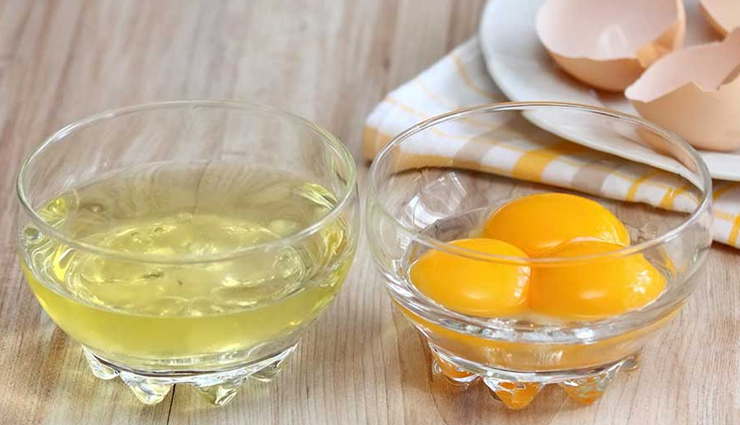
# The Breakfast Mask
If you're looking for a natural and nourishing face mask that combines the benefits of egg yolk, honey, olive oil, and oatmeal, you're in for a treat. This DIY face mask is packed with moisturizing, soothing, and rejuvenating properties that will leave your skin feeling soft and refreshed. Here's how you can make it at home:
Materials you'll need:
1 egg yolk
1 tablespoon honey
1 tablespoon olive oil
2 tablespoons oatmeal (ground into a fine powder)
Mixing bowl
Spoon or fork for mixing
Fabric or disposable face mask
Instructions:
- In a mixing bowl, crack open an egg and separate the yolk from the egg white. You'll only need the egg yolk for this mask.
- Add 1 tablespoon of honey to the egg yolk. Honey is a natural humectant that helps to retain moisture in the skin and provides antibacterial properties.
- Pour 1 tablespoon of olive oil into the bowl. Olive oil is rich in antioxidants and helps to nourish and hydrate the skin.
- Measure 2 tablespoons of oatmeal and grind it into a fine powder using a blender or coffee grinder. Oatmeal is soothing and gentle, making it ideal for sensitive or irritated skin. It also acts as a natural exfoliant.
- Add the oatmeal powder to the mixing bowl with the other ingredients.
- Mix all the ingredients together until you have a smooth and consistent paste. If the mixture is too thick, you can add a small amount of water to thin it out slightly.
- If you're using a fabric face mask, apply the mask mixture evenly onto the inner side of the mask, making sure to cover the areas that will come in contact with your face. If you're using a disposable mask, apply the mask mixture directly onto the mask just before wearing it.
- Put on the face mask and adjust it for a comfortable fit on your face.
- Leave the mask on for about 15-20 minutes to allow the nourishing properties to penetrate your skin.
- Rinse off the mask with lukewarm water and gently pat your face dry with a soft towel.
- Follow up with your regular skincare routine, such as applying a moisturizer to seal in the hydration from the mask.
Conclusion:
By creating your own DIY egg yolk, honey, olive oil, and oatmeal face mask, you can provide your skin with a nourishing and rejuvenating treatment. The combination of these natural ingredients offers moisturizing, soothing, and exfoliating benefits, leaving your skin feeling soft, refreshed, and radiant. So, gather the ingredients, mix them together, and indulge in the goodness of this homemade face mask for healthy and glowing skin.
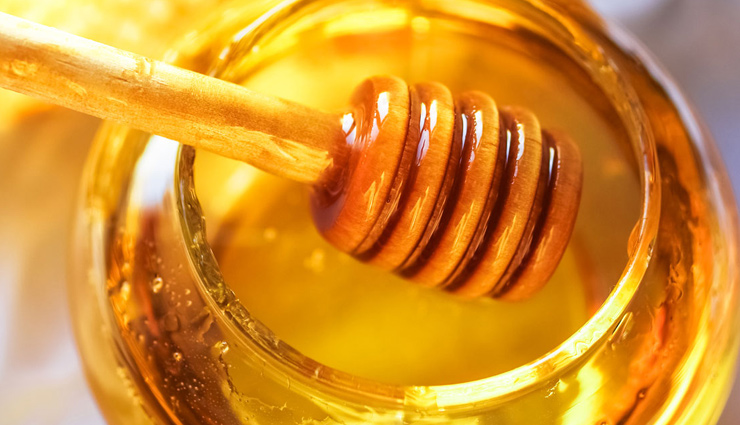
# The Honey Citrus Mask
If you're looking for a refreshing and brightening face mask that combines the natural goodness of honey and citrus fruits, you're in for a treat. This DIY honey citrus mask will help to moisturize, exfoliate, and rejuvenate your skin, leaving it with a healthy glow. Here's how you can make it at home:
Materials you'll need:
2 tablespoons of honey (preferably raw or organic)
Juice of half a lemon or orange (or a combination of both)
1 teaspoon of lemon or orange zest (optional, for added fragrance and exfoliation)
Mixing bowl
Spoon or fork for mixing
Fabric or disposable face mask
Instructions:
- In a mixing bowl, add 2 tablespoons of honey. Honey is a natural humectant that helps to moisturize and soften the skin. It also has antimicrobial properties that can benefit acne-prone skin.
- Squeeze the juice of half a lemon or orange into the bowl. The citrus juice provides a brightening effect and contains vitamin C, which helps to even out the skin tone and promote collagen production.
- Optional: If you want to add a subtle fragrance and gentle exfoliation to your mask, add 1 teaspoon of lemon or orange zest. The zest also contains beneficial oils that can enhance the mask's properties.
- Mix all the ingredients together until well combined.
- If you're using a fabric face mask, apply the mask mixture evenly onto the inner side of the mask, ensuring that it covers the areas that will come in contact with your face. If you're using a disposable mask, apply the mask mixture directly onto the mask just before wearing it.
- Put on the face mask and adjust it for a comfortable fit on your face.
- Leave the mask on for about 10-15 minutes to allow the honey and citrus properties to work their magic.
- Rinse off the mask with lukewarm water and gently pat your face dry with a soft towel.
- Follow up with your regular skincare routine, such as applying a moisturizer to lock in the hydration and enhance the glow of your skin.
Conclusion:
By creating your own DIY honey citrus mask, you can enjoy the benefits of natural ingredients that moisturize, brighten, and rejuvenate the skin. The combination of honey and citrus fruits provides a refreshing and invigorating experience, leaving your skin looking radiant and revitalized. So, gather the honey, lemon or orange, and zest, mix them together, and treat your skin to the rejuvenating effects of this homemade honey citrus mask for a healthy and glowing complexion.
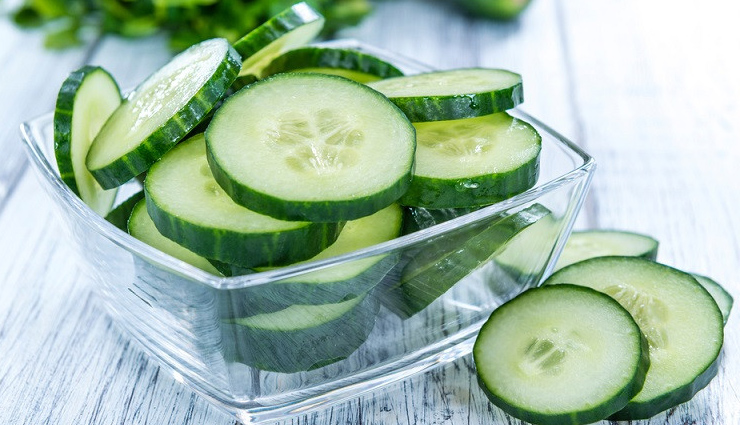
# The Cooling Cucumber Mask
If you're seeking a soothing and cooling face mask to beat the summer heat and refresh your skin, a DIY cucumber mask is just what you need. Cucumbers are known for their hydrating and calming properties, making them perfect for revitalizing tired and irritated skin. Here's how you can make a cooling cucumber mask at home:
Materials you'll need:
1 fresh cucumber
Blender or food processor
Aloe vera gel or plain yogurt (optional)
Mixing bowl
Spoon or spatula for mixing
Fabric or disposable face mask
Instructions:
- Begin by washing the cucumber thoroughly to remove any dirt or residue.
- Cut the cucumber into smaller pieces to make it easier to blend.
- Using a blender or food processor, puree the cucumber until it becomes a smooth and watery consistency. Ensure there are no chunks left.
- Transfer the cucumber puree into a mixing bowl.
- Optional: If you want to enhance the moisturizing and soothing properties of the mask, you can add 1-2 tablespoons of aloe vera gel or plain yogurt to the cucumber puree. Both ingredients provide additional hydration and can help calm inflamed or irritated skin. Mix well to combine the ingredients.
- If you're using a fabric face mask, apply the cucumber mixture evenly onto the inner side of the mask, making sure to cover the areas that will come in contact with your face. If you're using a disposable mask, apply the cucumber mixture directly onto the mask just before wearing it.
- Put on the face mask and adjust it for a comfortable fit on your face.
- Leave the mask on for about 10-15 minutes to allow the cooling and hydrating properties of the cucumber to work their magic.
- During this time, you can lie down and relax, allowing the mask to refresh and rejuvenate your skin.
- After the recommended time, rinse off the mask with cool water to further enhance the cooling effect. Gently pat your face dry with a soft towel.
- Follow up with your regular skincare routine, such as applying a moisturizer to lock in the hydration from the cucumber mask.
Conclusion:
By making your own DIY cooling cucumber mask, you can give your skin a refreshing and soothing treat during the summer months. Cucumbers provide a natural cooling sensation and are excellent for hydrating and calming the skin. So, grab a fresh cucumber, blend it into a puree, and indulge in the cooling and revitalizing experience of a homemade cucumber mask. Enjoy the feeling of refreshed and rejuvenated skin after using this simple and natural DIY remedy.


