6 Tips To Do Salon Like Acrylic Nails At Home
By: Kratika Tue, 06 Sept 2022 6:45:21
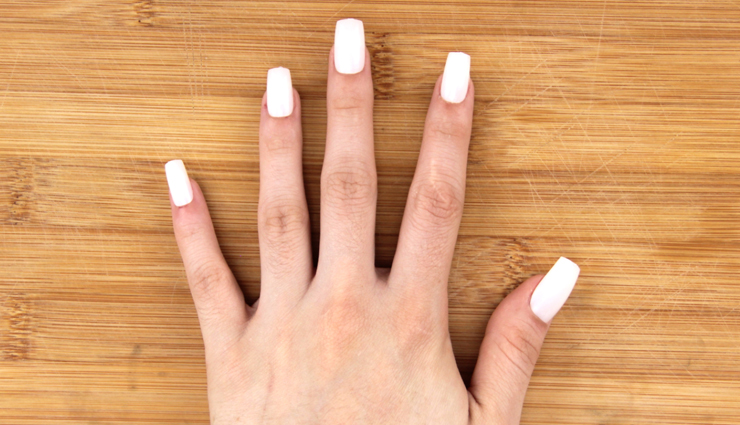
Acrylic nails are kind of a nail extension. These are fake nails or artificial nails that are applied on top of our real nails. Fashionable, stylish nails are all rage these days. Gone are the days of applying just one popping shade to make your hands look beautiful! Now-a-days, its all about nail arts and acrylic nails are a very important part to get your choice of nail art done. But, many of us face problem with growing nails. Furthermore, we also suffer from weak or brittle nails. Acrylic nails help to mask these problems. These artificial nails are long, sturdy as well as durable. You can visit any salon to get your acrylic nails done, but that’s costly as well and consuming. So why not get them done at home? Find out How to do Acrylic Nails at Home below.
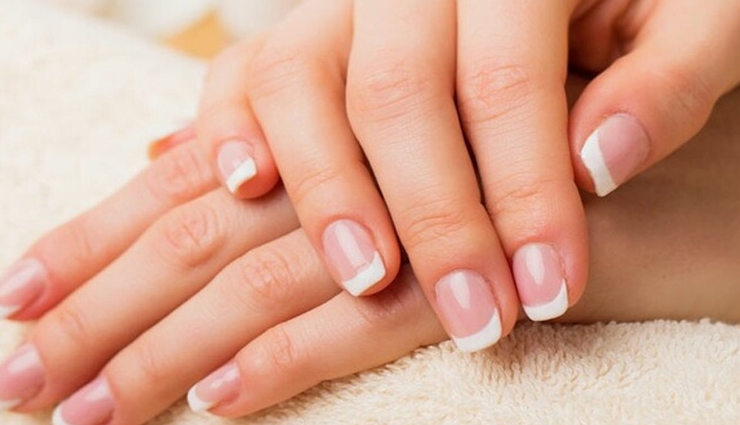
# Get Your Nails Ready
- Acrylic nails should always be applied on clean and clear nails. So, start by removing your old nail polish. Get an acetone free, good quality nail polish remover to get rid of any old nail polish.
- In case you want to remove old acrylic nails, soak them in pure acetone. Don’t peel off the nails quickly, soak until the nails can be pushed away easily.
- Next you need to trim the nails. This will provide a good base to apply the artificial nails or the fake nails. Use a nail clipper to cut your real nails to short or manageable size. Don’t cut them too short. Then, file your nails properly to even out the edges.
- Get a soft nail file and buff the surface of the nails gently to make it less shiny and slightly rough. This will help the acrylic nails to stick better to the nail surface.
- With a cuticle stick, push back your cuticles. Because otherwise they make create problems while you apply the artificial nails. The acrylic nails must stick to the natural nails and not to the skin. So, get rid of all those cuticles around your natural nails.
- Use a dusting brush to get rid of the excess dust from the surface of the nails.
# Apply Nail Primer
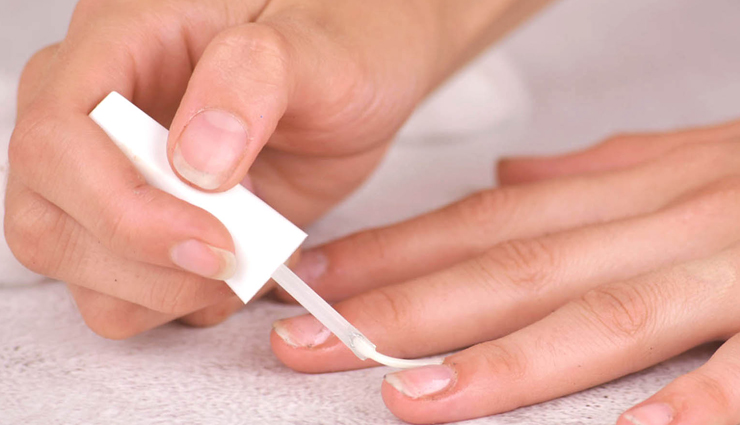
- Once you get your nails ready by following all of the aforementioned steps, its time to apply the acrylic primer. The main job of this primer is to remove the oils and moisture from the nails, so that the fake nails/artificial nails AKA acrylic nails.
- This is a very important step to make sure that the artificial nails get adhered to the natural nails properly.
- One should use a cotton pad to apply the nail primer on the nails carefully. It might burn if the nail primer gets in touch with the skin. So, be careful enough while using the acrylic primer.
# Stick the Acrylic Nails
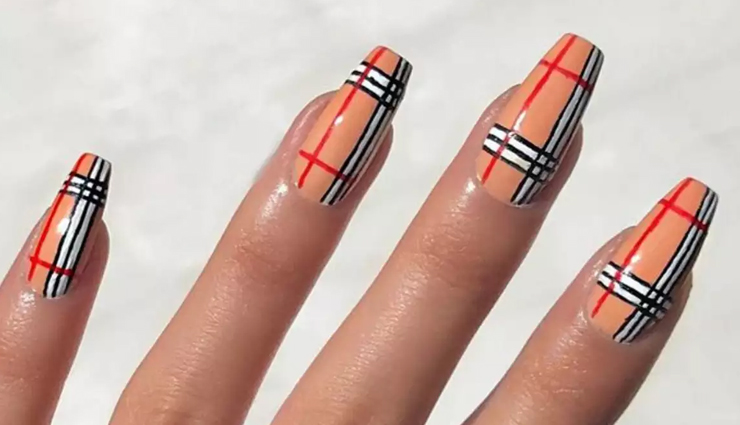
- Now your nails are ready to hold the acrylic nails. First, choose a nail tip from the set of artificial nails that matches closely with the original shape and width of your natural nails.
- Dab some glue on the tip of the fake nails from side to side and then apply it on top of your natural nails.
- Press and hold the artificial nails firmly for 30 seconds or until the glue sets completely. Make sure you press down the middle first and then the wings of the tip. Do it with gentle hands and do not rush.
- Wipe off the excess glue with the help of a nail wipe.
# Trim the Acrylic Nails
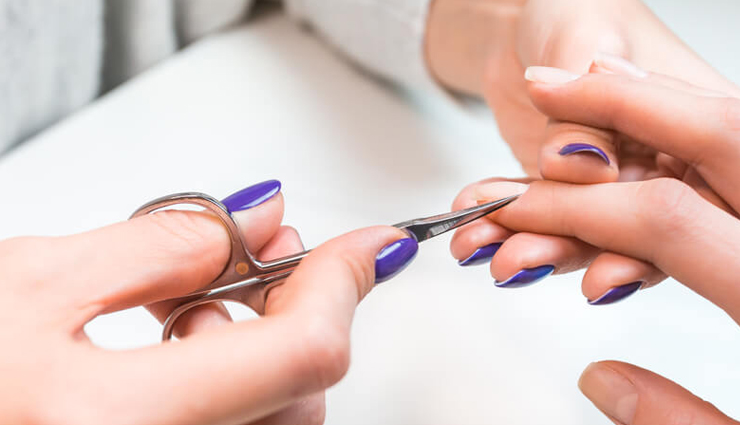
Now that you have applied the artificial nails, its time to cut them down to your desired length and shape. For this, you would need an acrylic nail cutter. Determine the length that you want for your fake nails and then, cut them with the acrylic nail cutter. Use a nail filer to bring them to your desired shape – square, oval or almond shape, whatever you want.
Don’t forget to file the base of your artificial nails as well. The acrylic nails will be slightly raised from the surface of your natural nails. The point where the fake nails end and the natural nails begin will be quite visible. So, you need to file the base of your acrylic nails to merge it with the natural nails.
# Applying the Acrylic Mixture
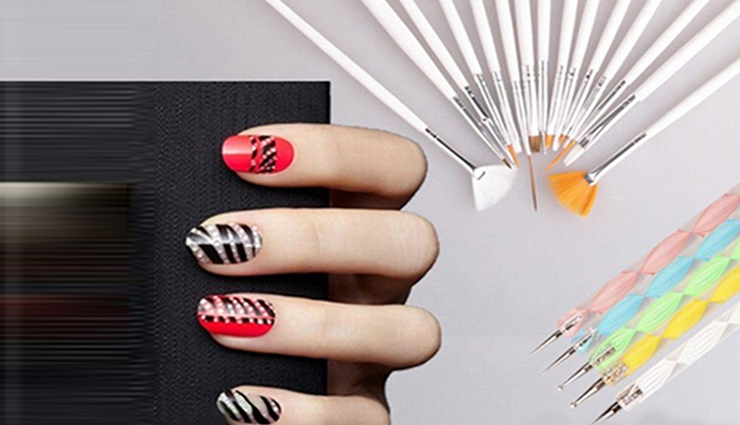
- Now comes the harder part of doing acrylic nails at home. Start with pouring the acrylic liquid in a glass bowl. And pour the acrylic powder in a separate dish.
- Dip the brush in the liquid first and wipe off the excess liquid onto a paper towel. Then, dip the brush in the powder and quickly swipe the brush through it.
- Then apply the acrylic mixture directly onto the nails. The acrylic mixture would look like a small bump at the tip of the brush, but once you apply to the nails it will feel like soft jelly-bean type of thing. Acrylic mixture should be applied with dabbing motion. Begin with the middle of the nails and then slowly work your way towards the tip of the fake nails. Make sure you do not use a swiping motion to apply the acrylic mixture to the artificial nails.
- You may notice that the mixture doesn’t sit evenly on the nails. Its looking thicker in some areas and flat in the others. This will get solved once we use buffer in the next steps.
- With a toothpick, remove the excess mixture stuck on the corners of the nails.
- Once all the nails, or the fake nails have dried, its time to smooth out the surface. Get a buffer block and even out the surface of the acrylic nails. If required, file the nails once again at this stage according to your choice of shape.
# Finishing to get Acrylic Nails
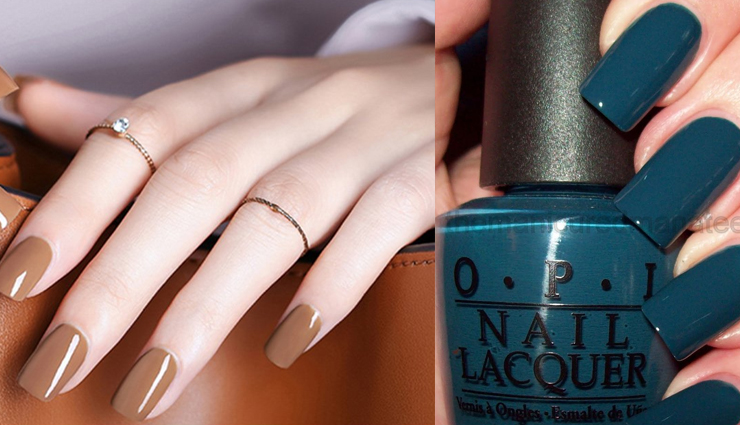
Now that you have applied the acrylic nails perfectly, its time to go ahead with your nail art design.
Start by applying a transparent base coat. Once the base coat dries, apply your choice of nail polish. You can choose any nail polish, like the glossy ones, the matte nail polish, the metallic finish nail polish, just anything. However, make sure the nail polish is acetone free, otherwise it will cut down the longevity of your acrylic nails.


