8 Steps To Do Arabic Eye Makeup
By: Priyanka Maheshwari Sun, 13 Sept 2020 7:16:49

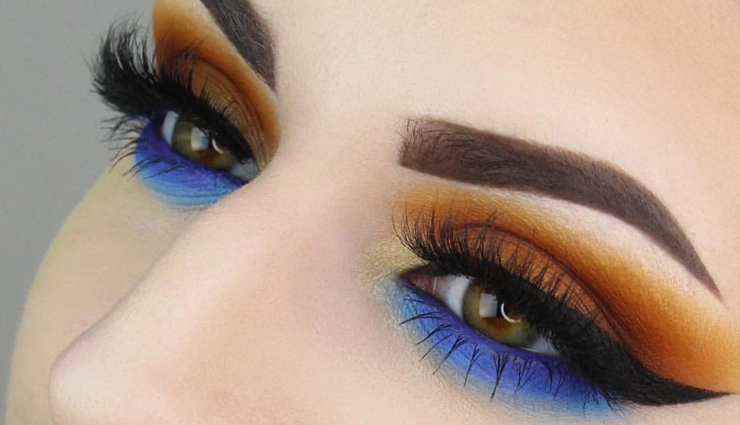
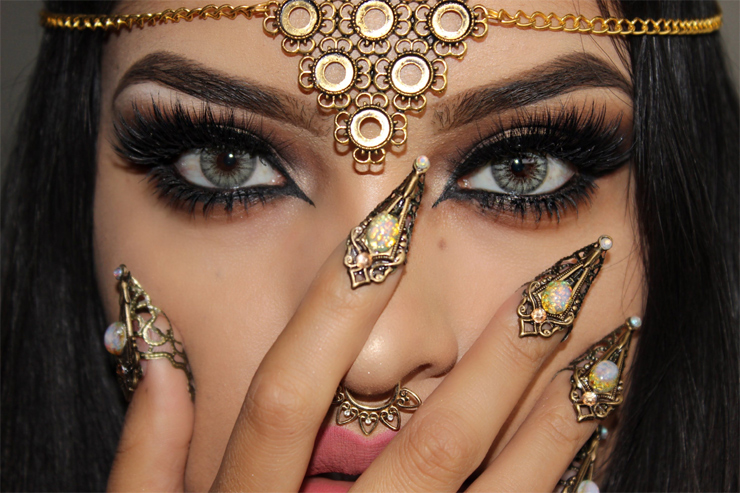
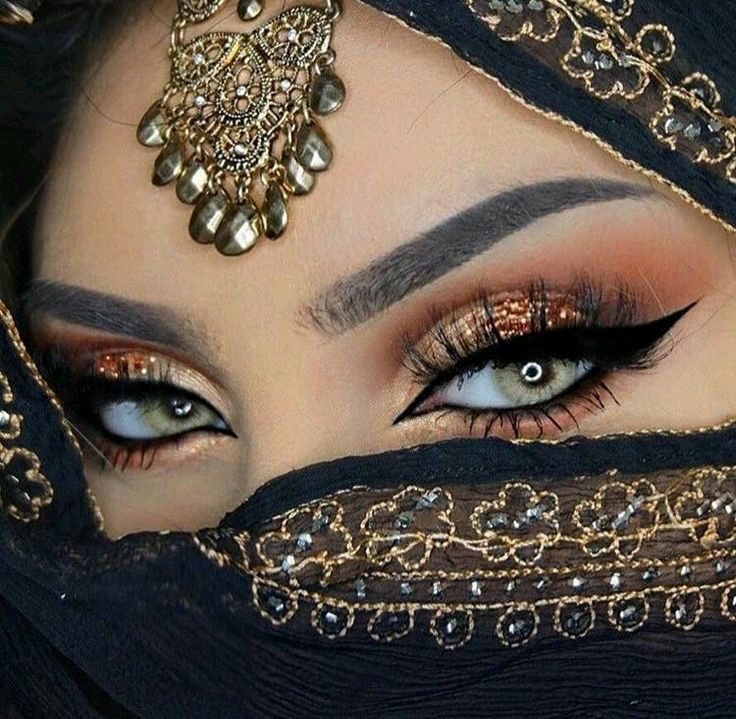
Bored of sporting those same smokey eye makeup looks? Ever thought of sporting those magnificent looking Arabic eye makeups? Do you have a party coming up? Then try an Arabic eye makeup for a change. Arabic eye makeup is very dramatic looking in the first place. Secondly you should always have quite a few bold colors at hand before trying out an Arabic eye makeup look. The more colors you use the more dramatic will be the look of the Arabic eye makeup. Most Arabic eye makeup looks has heavy wings. Sometimes there are winged formations at the inner corner of the eyes as well. One very important thing to remember is that your face makeup needs to be in tune with the Arabic eye makeup looks. Arabic eye makeup looks very good on a bit of tanned complexion. To create a tanned complexion, you can use some bronzer on to the forehead and the cheeks.
You should always start any form of face makeup on a cleansed but moist skin. Your skin needs to be properly washed with a good face wash. Pat your skin dry. Apply a sunscreen followed by a face primer. Apply an eye lid primer on to the eye lids. This will help your makeup to stay longer. Apply a concealer on to spots and blemishes. Apply underneath the eyes to cover any blue veins or dark circles. Follow this up with a foundation.

Step 1: start off with either a matte white or light shimmer silver. Apply this on to the whole of the upper lid and also extending up till the brow bone.
Step 2: Now take a peach, magenta or a dark pink shade. Apply on to the whole of the eye lid extending up till the crease but not outwards.
Step 3: Now take a dark smokey shade, preferably charcoal and apply on to the whole of the crease. Do not extend much towards the brow bone. Extend the exterior in a winged form.
Step 4: Next take a same pink or peach shade that you have applied on to the lid. Apply just above the crease in a horizontal line. Do not extend till the brow bones. This should blend well with the charcoal color.

Step 5: Now take your liner. Apply the liquid or better gel eye liner in a winged formation at the exterior. Apply kohl on to the lower lash line. You can use the same eye liner on to the lower lash line as well. Now extend the tail of the lower lash line towards the out wards. Make sure the upper and lower wings do not get joined to each other.
Step 6: Now lastly take two pencil eye liners in purple or blue and golden. If these are not available then take an angled brush and purple/blue and golden shades of eye shadow. Apply the purple/blue just beneath the lower lash line. Extend in a tail. Towards the inner corner of the lower lash line, use the golden. Use the same golden just above the winged tail of the blue.
Step 7: Finally add a little bit of silver between the wings of lower and upper lid. This will clear out the demarcation between the two.
Step 8: Finish off with a heavy coat of mascara. Use some false lashes to create a heavy look.


