Have Oily Skin? Try These 8 DIY Cleansers
By: Priyanka Maheshwari Sat, 12 Aug 2023 11:16:06

Oily skin is a common skin type characterized by an overproduction of sebum, a natural oil produced by the sebaceous glands in the skin. Sebum plays a crucial role in maintaining skin health by keeping it moisturized and protecting it from external elements. However, when the sebaceous glands produce an excessive amount of sebum, it can lead to oily skin.
People with oily skin often have a shiny or greasy appearance on their face, particularly in the "T-zone," which includes the forehead, nose, and chin. This excess oil can also contribute to other skin concerns, such as acne and enlarged pores, as the excess sebum can clog pores and provide a breeding ground for bacteria.
Oily skin can be influenced by various factors, including genetics, hormones, diet, and environmental factors. Adolescents often experience an increase in sebum production during puberty due to hormonal changes. Additionally, certain skincare products or cosmetics can either exacerbate or help manage oily skin.
In our modern world, we are constantly exposed to a barrage of elements like dirt, dust, sunlight, and harsh chemicals on a daily basis. These factors can contribute to a lackluster and grimy appearance of our skin. This is precisely why incorporating a cleansing regimen into your daily skincare routine holds immense importance. Experiment with these uncomplicated yet potent homemade facial cleansers tailored for oily skin, and you'll undoubtedly witness remarkable transformations in just a matter of weeks. Opting for natural ingredients that yield tangible outcomes is consistently a wiser choice compared to resorting to chemicals that can potentially harm your skin in the long haul.
Furthermore, a majority of these cleansers also possess toning properties, which is an added advantage particularly beneficial for individuals with oily skin. The ideal cleanser will effectively eliminate surplus sebum from your skin, leaving it supple and radiantly luminous while preserving its intrinsic oils. Amidst the multitude of commercial face wash options available, crafting your own cleansers using basic ingredients found in your pantry not only proves to be more economical but also more beneficial for your skin's overall health. The utilization of uncomplicated pantry ingredients can yield remarkable outcomes for your skin, surpassing the effects of store-bought products laden with an array of potentially damaging chemicals.
This article will delve into an exploration of the top eight organic ingredients at your disposal for effectively cleansing your oily skin. Delve further to discover the techniques for harnessing these skin-nourishing components in concocting beauty recipes that cater to your skin's needs.

# Olive Oil
Here's a simple recipe for a DIY olive oil cleanser that can leave your skin clean, refreshed, and less prone to breakouts:
Ingredients:
Extra virgin olive oil
Castor oil (optional, helps with deep cleansing)
A small bottle or container for storage
Instructions:
- Start by deciding on the ratio of olive oil to castor oil. For oily skin, a common ratio is 75% olive oil to 25% castor oil. You can adjust this ratio based on your skin's specific needs.
- In a clean bowl, combine the olive oil and castor oil in the chosen ratio. Stir or shake the mixture gently to ensure they are well combined.
- Use a funnel to pour the oil mixture into a small bottle or container. Make sure the container is clean and dry before adding the oils.
- Label the container with the ingredients and the ratio you used. Store the container in a cool, dark place to preserve the oils' quality.
How to Use:
- Before using the oil cleanser, ensure your hands are clean and dry.
- Start with a dry face. Pour a small amount (about a teaspoon) of the oil mixture into your palm.
- Gently massage the oil onto your face using upward, circular motions. This massage helps the oil dissolve impurities and makeup while also improving blood circulation.
- Soak a clean washcloth in warm water and wring out the excess. Place the warm cloth over your face, allowing the steam to open up your pores. This also helps in removing the oil and dirt.
- Use the warm washcloth to gently wipe away the oil. You'll notice that the oil cleanser emulsifies and takes away the dirt, makeup, and excess sebum with it.
- If needed, you can rinse your face with lukewarm water to ensure no residue remains. Pat your face dry with a clean towel.
- You can follow up with your regular toner and moisturizer if desired.
# Milk
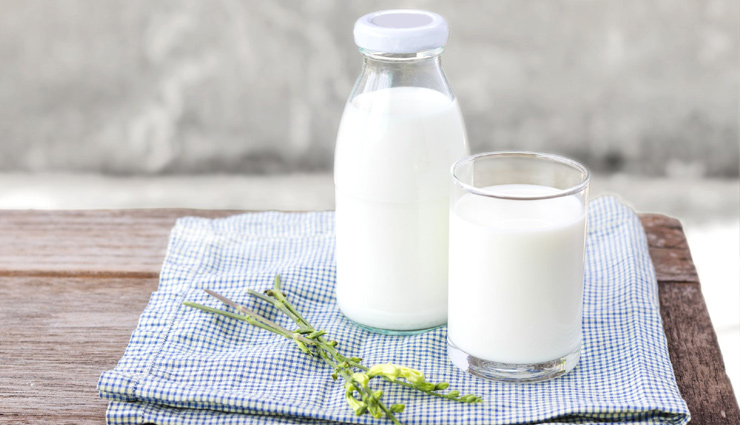
Milk contains natural lactic acid and nutrients that can help break down excess oil and impurities while providing hydration. Here's a straightforward recipe to concoct your own milk cleanser for oily skin:
Ingredients:
1/4 cup milk (preferably low-fat or skim milk)
1 tablespoon honey (natural humectant and antibacterial)
A few drops of tea tree oil (optional, helps control oil and fight acne)
A small bottle or container for storage
Instructions:
- In a clean bowl, mix the milk and honey together until they are well combined. If you choose to use tea tree oil, add a few drops to the mixture and stir.
- If you'd like a slightly thicker consistency, you can also blend the mixture in a blender or food processor for a smoother texture.
- Use a funnel to pour the milk cleanser mixture into a small bottle or container. Make sure the container is clean and dry before adding the mixture.
- Label the container with the ingredients used. Store the container in the refrigerator to keep the milk fresh.
How to Use:
- Wash your hands thoroughly before starting your skincare routine.
- Begin with a clean and dry face. Shake the milk cleanser gently to ensure the ingredients are well mixed.
- Pour a small amount of the milk cleanser into your palm. Gently massage it onto your face using circular motions. Pay extra attention to areas with excess oil or impurities.
- Take your time to massage the cleanser onto your skin. The lactic acid in the milk can help exfoliate gently and remove dead skin cells.
- Use lukewarm water to rinse your face, ensuring all the cleanser is removed. Pat your face dry with a clean towel.
- If desired, you can apply a gentle toner and lightweight moisturizer suitable for oily skin.

# Honey And Lemon Cleanser
Honey's antimicrobial properties can help combat acne-causing bacteria, while lemon juice's natural acidity can assist in regulating excess oil production. Here's a simple recipe to create your own honey and lemon cleanser tailored for oily skin:
Ingredients:
2 tablespoons raw honey (natural antibacterial)
1 tablespoon freshly squeezed lemon juice (natural astringent)
A small mixing bowl
A small bottle or container for storage
Instructions:
- In a clean mixing bowl, mix the raw honey and freshly squeezed lemon juice until they are thoroughly combined.
- You can warm the honey slightly before mixing to make it easier to blend with the lemon juice. However, avoid overheating the honey to preserve its natural benefits.
- Using a funnel, transfer the honey and lemon mixture into a small bottle or container. Ensure the container is clean and dry before pouring in the mixture.
- Label the container with the ingredients used and the date of preparation. Store the container in a cool, dry place away from direct sunlight.
How to Use:
- Wash your hands before starting your skincare routine to ensure cleanliness.
- Begin with a clean and dry face. Give the bottle a gentle shake to ensure the honey and lemon mixture is well combined.
- Squeeze a small amount of the honey and lemon cleanser onto your palm. Gently massage it onto your face using circular motions.
- Take your time to massage the cleanser into your skin. The honey's texture can be quite soothing, and the lemon juice helps cut through excess oil.
- Use lukewarm water to rinse your face thoroughly, ensuring that all traces of the cleanser are removed. Pat your face dry with a clean towel.
- If desired, you can apply a gentle toner and a light, oil-free moisturizer suitable for oily skin.

# Cucumber And Tomato Cleanser
Cucumber's soothing properties can help calm irritated skin, while tomato's natural acids can aid in controlling excess oil. Here's a simple recipe to concoct your own cucumber and tomato cleanser tailored for oily skin:
Ingredients:
1/2 cucumber (hydrating and soothing)
1 small tomato (natural astringent)
Blender or food processor
A small bottle or container for storage
Instructions:
- Wash the cucumber and tomato thoroughly. Peel the cucumber if desired, as the peel can be a bit bitter. Cut both the cucumber and tomato into smaller pieces for easier blending.
- Place the cucumber and tomato pieces into a blender or food processor. Blend until you achieve a smooth, consistent mixture.
- If you prefer a smoother consistency without any residue, strain the blended mixture through a fine sieve to separate the juice from any pulp.
- Using a funnel, pour the cucumber and tomato mixture or juice into a small bottle or container. Make sure the container is clean and dry.
- Label the container with the ingredients used and the date of preparation. Store the container in the refrigerator to keep the mixture fresh.
How to Use:
- Ensure your hands are clean and dry before starting your skincare routine.
- Begin with a clean and dry face. Shake the container gently to ensure the cucumber and tomato mixture is well combined.
- Squeeze a small amount of the cleanser onto your palm. Gently massage it onto your face using circular motions.
- Take your time to massage the cleanser into your skin. Enjoy the cooling and refreshing sensation from the cucumber and tomato.
- Use lukewarm water to thoroughly rinse your face, ensuring all traces of the cleanser are removed. Pat your face dry with a clean towel.
- If desired, you can apply a mild toner and a lightweight, oil-free moisturizer suitable for oily skin.
# Chamomile Tea
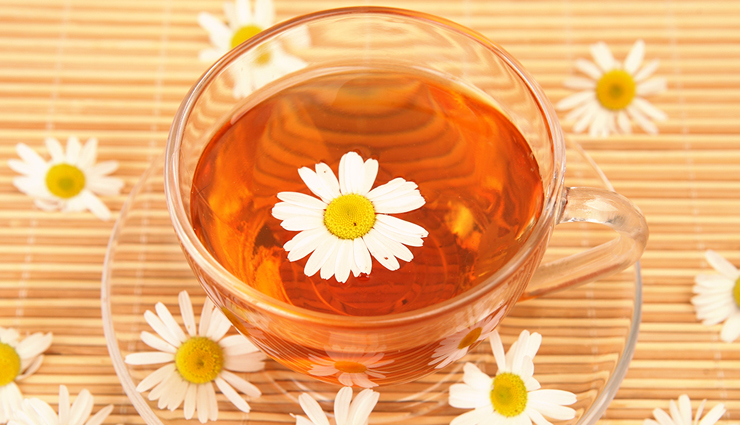
Chamomile is known for its soothing properties and can help balance oil production. Here's a simple recipe to create your own chamomile tea cleanser tailored for oily skin:
Ingredients:
1 chamomile tea bag or 1 tablespoon dried chamomile flowers
1 cup distilled water
1 tablespoon mild liquid soap (unscented and gentle)
A small bottle or container for storage
Instructions:
- Boil 1 cup of distilled water and pour it over the chamomile tea bag or dried chamomile flowers in a heatproof container. Allow the chamomile to steep for about 10-15 minutes to create a chamomile infusion. Remove the tea bag or strain the flowers before using.
- Once the chamomile infusion has cooled to room temperature, add 1 tablespoon of mild liquid soap to the infused water. Mix gently to combine.
- Using a funnel, pour the chamomile tea and liquid soap mixture into a small bottle or container. Ensure the container is clean and dry before adding the mixture.
- Label the container with the ingredients used and the date of preparation. Store the container in a cool, dry place away from direct sunlight.
How to Use:
- Wash your hands before beginning your skincare routine to maintain hygiene.
- Start with a clean and dry face. Shake the container gently to ensure the chamomile tea and soap mixture is well distributed.
- Squeeze a small amount of the cleanser onto your palm. Gently massage it onto your face using circular motions.
- Take your time to massage the cleanser into your skin. Enjoy the soothing sensation from the chamomile infusion.
- Use lukewarm water to thoroughly rinse your face, making sure all traces of the cleanser are removed. Pat your face dry with a clean towel.
- If desired, apply a mild toner and a lightweight, oil-free moisturizer suitable for oily skin.
# Apple Cider Vinegar
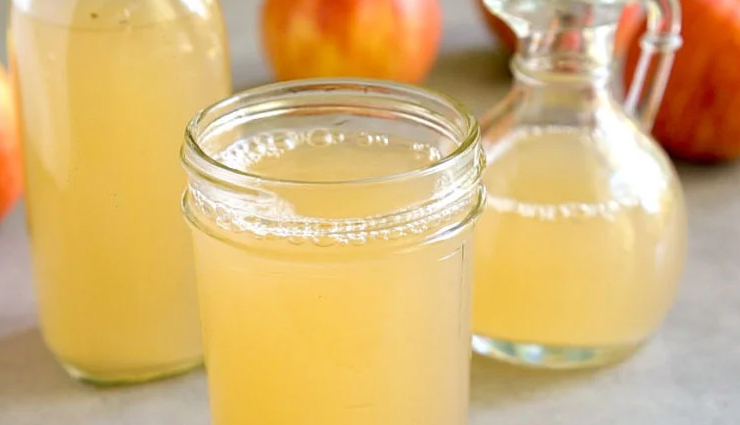
ACV's acidic properties can help balance the skin's pH and control excess oil production. Here's a simple recipe to create your own ACV cleanser tailored for oily skin:
Ingredients:
1 part raw, unfiltered apple cider vinegar
2-3 parts distilled or filtered water
A small bottle or container for storage
Instructions:
- In a clean bowl, combine 1 part apple cider vinegar with 2-3 parts water. The ratio of vinegar to water can be adjusted based on your skin's sensitivity. For example, start with 1 tablespoon of ACV and 2-3 tablespoons of water.
- Use a funnel to pour the ACV and water mixture into a small bottle or container. Ensure the container is clean and dry before adding the mixture.
- Label the container with the ingredients used and the ratio you've chosen. Store the container in a cool, dark place.
How to Use:
- Make sure your hands are clean and dry before starting your skincare routine.
- Begin with a clean and dry face. Shake the container gently to ensure the ACV and water mixture is well combined.
- Saturate a cotton pad or cotton ball with the ACV mixture. Gently swipe the damp cotton pad across your face, focusing on areas prone to excess oil.
- After applying the ACV mixture, you can choose to rinse your face with lukewarm water to remove any residue. Pat your face dry with a clean towel.
- If desired, apply a gentle toner and an oil-free moisturizer suitable for oily skin.

# Rose Water
Rose water has natural astringent properties that can help balance oil production and soothe the skin. Here's a simple recipe to create your own rose water cleanser tailored for oily skin:
Ingredients:
1/4 cup pure rose water (natural astringent and soothing)
1 tablespoon mild liquid soap (unscented and gentle)
A small bottle or container for storage
Instructions:
- In a clean bowl, combine the pure rose water and mild liquid soap. Stir gently to ensure they are well mixed.
- Use a funnel to pour the rose water and soap mixture into a small bottle or container. Ensure the container is clean and dry before adding the mixture.
- Label the container with the ingredients used and the date of preparation. Store the container in a cool, dry place away from direct sunlight.
How to Use:
- Make sure your hands are clean and dry before beginning your skincare routine.
- Begin with a clean and dry face. Give the container a gentle shake to ensure the rose water and soap mixture is well distributed.
- Squeeze a small amount of the cleanser onto your palm. Gently massage it onto your face using circular motions.
- Take your time to massage the cleanser into your skin. Enjoy the soothing sensation from the rose water.
- Use lukewarm water to thoroughly rinse your face, ensuring all traces of the cleanser are removed. Pat your face dry with a clean towel.
- If desired, apply a mild toner and an oil-free moisturizer suitable for oily skin.

# Gram Flour And Turmeric
Gram flour (also known as chickpea flour) can help remove dead skin cells, while turmeric has natural antibacterial and anti-inflammatory properties. Here's a simple recipe to create your own gram flour and turmeric cleanser tailored for oily skin:
Ingredients:
2 tablespoons gram flour (chickpea flour)
1/4 teaspoon turmeric powder (antibacterial and anti-inflammatory)
Water or rose water (for mixing)
A small mixing bowl
A small bottle or container for storage
Instructions:
- In a clean mixing bowl, combine the gram flour and turmeric powder. You can adjust the quantity of turmeric based on your preference and skin sensitivity.
- Gradually add water or rose water to the dry mixture to create a paste-like consistency. Mix until all ingredients are well combined and you have a smooth paste.
- Use a spoon or spatula to transfer the gram flour and turmeric mixture into a small bottle or container. Ensure the container is clean and dry before adding the mixture.
- Label the container with the ingredients used and the date of preparation. Store the container in a cool, dry place away from direct sunlight.
How to Use:
- Wash your hands before starting your skincare routine.
- Begin with a clean and dry face. Shake the container gently if the mixture has settled.
- Take a small amount of the gram flour and turmeric mixture and apply it to your damp face. Gently massage it onto your skin using circular motions. Avoid the eye area.
- The granules of gram flour can help exfoliate the skin. Be gentle, especially if you have sensitive skin.
- Use lukewarm water to thoroughly rinse your face, ensuring all traces of the mixture are removed. Pat your face dry with a clean towel.
- If desired, apply a gentle toner and an oil-free moisturizer suitable for oily skin.


