- Home›
- Healthy Living›
- International Yoga Day 2024- 5 Effective Yoga Asanas To Tighten Pelvic Muscles Naturally
International Yoga Day 2024- 5 Effective Yoga Asanas To Tighten Pelvic Muscles Naturally
By: Priyanka Maheshwari Fri, 21 June 2024 09:20:37
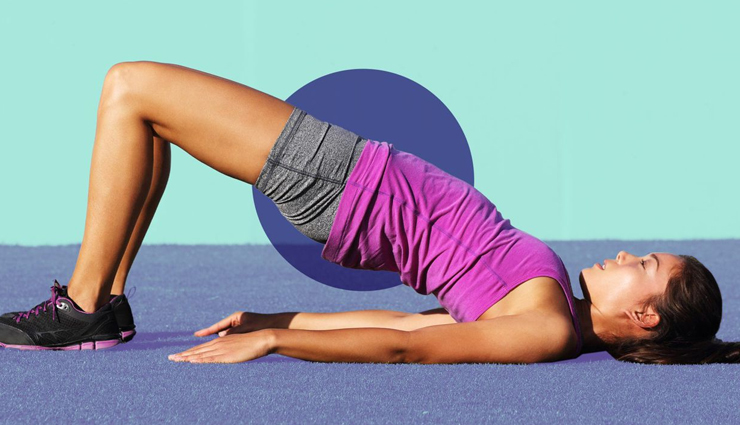
International Yoga Day 2024 will be celebrated worldwide on June 21. This day highlights yoga's benefits for physical, mental, and spiritual well-being. The theme for 2024 is "Yoga for Self and Society," emphasizing how yoga impacts individual and collective health. The word "Yoga" comes from Sanskrit, meaning "to join" or "to unite," symbolizing harmony between mind, body, and nature. Yoga helps strengthen muscles throughout the body, including those supporting organs like the bladder, uterus, and rectum. Factors such as pregnancy, aging, and childbirth can weaken these muscles. Specific yoga poses, known as asanas, are designed to strengthen and tone pelvic muscles. Here are some effective poses to achieve this:
# Malasana
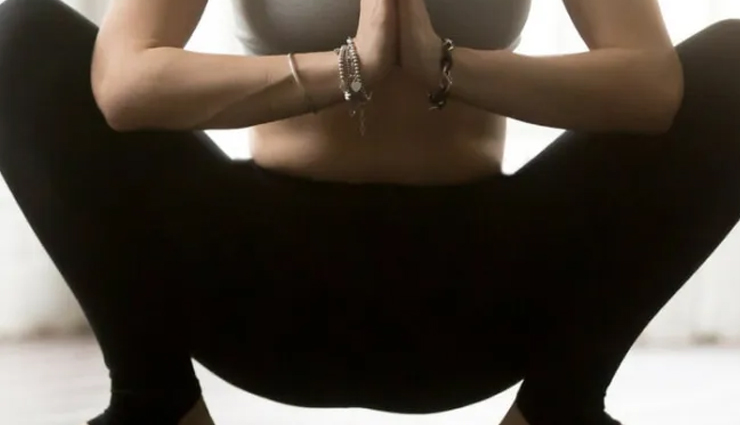
To perform Malasana, also known as the Garland Pose or Squat Pose, you can follow these steps:
- Begin by standing straight with your feet slightly wider than hip-width apart. Ensure that your toes are pointing slightly outward.
- As you exhale, start bending your knees and lower your hips down towards the ground. Try to maintain a steady and controlled descent.
- Once you have lowered your hips, bring your palms together at your chest in a prayer position (Anjali Mudra). Use your elbows to gently press against your inner thighs.
- As you continue in the squat position, engage your core muscles and keep your spine straight. Make sure your chest is lifted and your shoulders are relaxed.
- Take a few deep breaths in this position, allowing your body to relax and settle into the pose. You can also try gently rocking from side to side to find a comfortable position.
- If you feel stable and comfortable, you can further deepen the stretch by pressing your elbows against your inner thighs, helping to open the hips and groin area.
- Hold the pose for 30 seconds to a minute, or as long as feels comfortable for you. Remember to breathe deeply throughout the pose.
- To release the pose, place your hands on the floor in front of you and slowly straighten your legs, coming back to a standing position.
Note: If you find it challenging to maintain balance or keep your heels on the ground, you can place a folded blanket or yoga block under your heels for support.
As with any yoga pose, it's important to listen to your body and only go as far as feels comfortable for you. If you have any pre-existing knee or hip injuries, it's advisable to consult with a qualified yoga instructor before attempting this pose.
# Bhujangasana
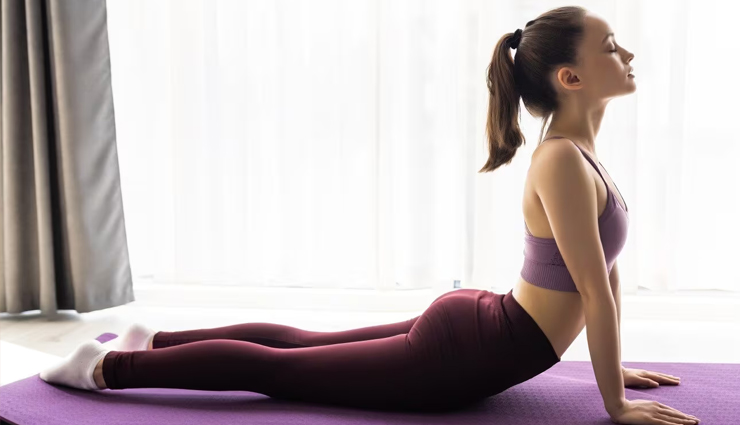
To perform Bhujangasana, also known as Cobra Pose, you can follow these steps:
- Start by lying flat on your stomach on a yoga mat, with your legs extended straight behind you and the tops of your feet resting on the mat. Place your hands on the mat alongside your chest, with your palms facing down.
- Position your elbows close to your body and align them with your lower ribs. Engage your core muscles by drawing your belly button towards your spine.
- As you inhale, press your hands firmly into the mat and begin to straighten your arms, lifting your chest off the ground. Keep your elbows slightly bent and ensure that the majority of the lifting comes from your upper back.
- Gently roll your shoulders back and down, away from your ears, and lengthen your neck. Your gaze can be directed forward or slightly upward, depending on your comfort level and flexibility.
- Keep your legs and buttocks relaxed while maintaining a slight engagement of the thigh muscles. Distribute the weight evenly between your hands and pelvis.
- Take deep, slow breaths as you hold the pose. With each inhale, lengthen your spine, and with each exhale, relax your shoulders and allow your chest to open up further.
- Hold the pose for 15 to 30 seconds, or longer if comfortable. Avoid straining or overextending your back. Listen to your body and work within your limits.
- To release the pose, exhale and slowly lower your chest and forehead back down to the mat. Rest in a relaxed position, such as Child's Pose, before continuing with your practice.
Note: Avoid Bhujangasana if you have any back injuries, carpal tunnel syndrome, or are pregnant. It's advisable to practice under the guidance of a qualified yoga instructor, especially if you are new to this pose or have any specific concerns or limitations.
# Utkatasana
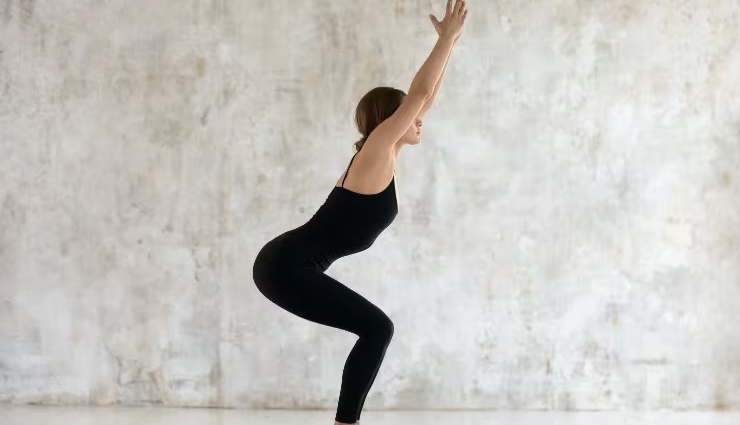
To perform Utkatasana, also known as Chair Pose or Fierce Pose, you can follow these steps:
- Begin by standing tall on your yoga mat with your feet together or hip-width apart, whichever feels more comfortable for you. Keep your arms at your sides and relax your shoulders.
- Take a deep breath in, and as you exhale, start to bend your knees and lower your hips as if you're sitting back into an imaginary chair. Keep your weight in your heels and maintain a strong connection with the ground through your feet.
- Continue to sink deeper into the pose, but be mindful to keep your knees in line with your toes and not let them collapse inward. Imagine pressing your knees slightly apart.
- As you lower into the pose, raise your arms forward and upward, parallel to each other. Your palms can be facing each other or touching.
- Lengthen your spine and engage your core muscles to maintain stability. Keep your chest lifted and your shoulders relaxed.
- If possible, try to bring your thighs parallel to the ground. However, if you're new to the pose or have any knee issues, it's perfectly fine to go as far down as feels comfortable for you.
- Hold the pose for 5 to 10 breaths, or as long as you can maintain proper alignment and form. Keep your breath steady and deep throughout the pose.
- To release the pose, exhale and straighten your legs, returning to a standing position. Lower your arms back down to your sides and take a moment to feel the effects of the pose in your body.
Note: Avoid Utkatasana if you have any knee injuries or conditions. If you experience discomfort or pain in your knees, you can modify the pose by not going as deep into the squat or using a wall for support. As always, listen to your body and adjust the pose according to your own limitations.
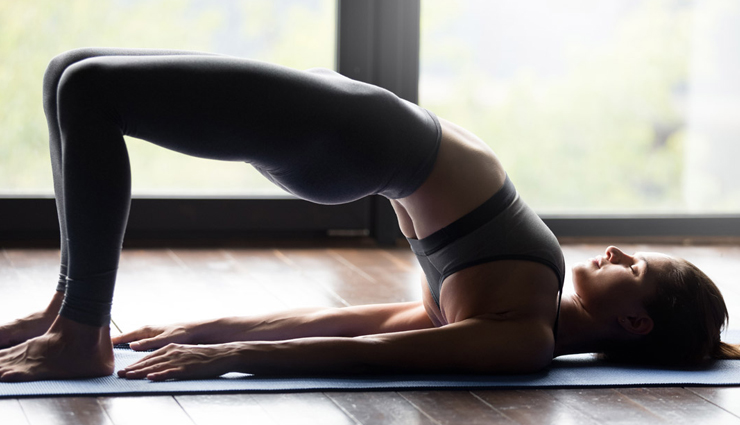
# Setu Bandha Sarvangasana
To perform Setu Bandha Sarvangasana, also known as Bridge Pose, you can follow these steps:
- Begin by lying flat on your back on a yoga mat with your knees bent and your feet flat on the ground. Keep your feet hip-width apart and close to your buttocks.
- Rest your arms alongside your body, with your palms facing down.
- As you exhale, press your feet firmly into the mat, engaging your glutes and core muscles. Slowly lift your hips off the ground, rolling your spine off the mat one vertebra at a time.
- Continue lifting until your thighs are parallel to the ground and your knees are directly above your ankles. Your shins should be perpendicular to the mat.
- To support your posture, you can interlace your fingers beneath your back and press your arms into the ground. Alternatively, you can keep your arms flat on the mat, palms facing down.
- Relax your shoulders and neck while keeping your chest open and lifted. Take deep breaths, allowing your ribcage to expand.
- Maintain a slight tuck of your chin to lengthen the back of your neck. Avoid straining or looking too far up.
- Hold the pose for 30 seconds to a minute, breathing deeply and evenly. You should feel a gentle opening in your chest, shoulders, and hips.
- To release the pose, slowly lower your spine back down to the mat, rolling down one vertebra at a time. Allow your hips, lower back, and shoulders to settle onto the mat.
- Rest for a few breaths in a neutral position before moving on to the next pose or concluding your practice.
Note: If you have any neck or shoulder issues, you can place a folded blanket or a yoga block under your shoulders for added support. Avoid this pose if you have any recent or acute back or neck injuries. As with any yoga pose, listen to your body and modify or skip the pose if it causes pain or discomfort.
# Kegels
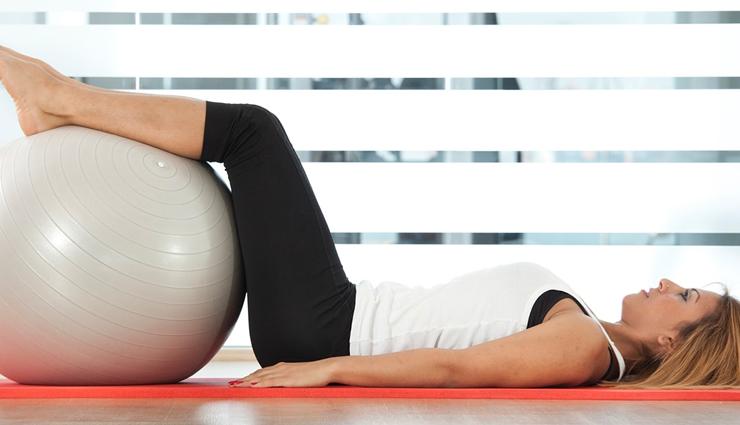
To perform Kegel exercises, you can follow these steps:
- Find a comfortable position: You can choose to sit, lie down, or stand, depending on your preference. Make sure your body is relaxed and your muscles are not overly tense.
- Identify the target muscles: The primary muscles you want to engage are the pelvic floor muscles. These are the muscles used to control urination and bowel movements. To locate them, imagine trying to stop the flow of urine or prevent passing gas. The muscles you engage in those actions are the ones you want to target.
- Engage the pelvic floor muscles: Once you have identified the correct muscles, gently squeeze and lift them. Avoid holding your breath or tightening your abdominal or buttock muscles. Focus solely on the contraction of the pelvic floor muscles.
- Hold the contraction: Hold the squeeze for a few seconds, starting with 3 to 5 seconds and gradually working your way up to 10 seconds or more as you become more comfortable and stronger.
- Relax and rest: Release the contraction and allow your pelvic floor muscles to relax completely. Take a few deep breaths to promote relaxation.
- Repeat the exercise: Aim to repeat this contraction and relaxation cycle 10 to 15 times in one session. If you're new to Kegels, you may start with fewer repetitions and gradually increase over time.
- Establish a routine: To see progress and obtain optimal benefits, perform Kegel exercises consistently. Aim for at least three sessions of Kegels each day.
- Gradually increase intensity: As your pelvic floor muscles become stronger, you can challenge yourself by increasing the duration of the contractions or the number of repetitions. However, be careful not to overexert yourself or strain your muscles.
Note: Kegel exercises can be performed discreetly at any time and in any place since they don't require any special equipment. It's important to note that individual results may vary, and it may take several weeks or months of consistent practice to notice significant improvements in pelvic floor strength and control. If you have any concerns or specific conditions, it's recommended to consult with a healthcare professional or pelvic floor therapist for personalized guidance.


