- Home›
- Healthy Living›
- 6 Yoga Breathing For Weight Loss
6 Yoga Breathing For Weight Loss
By: Priyanka Maheshwari Tue, 05 Sept 2023 4:50:43
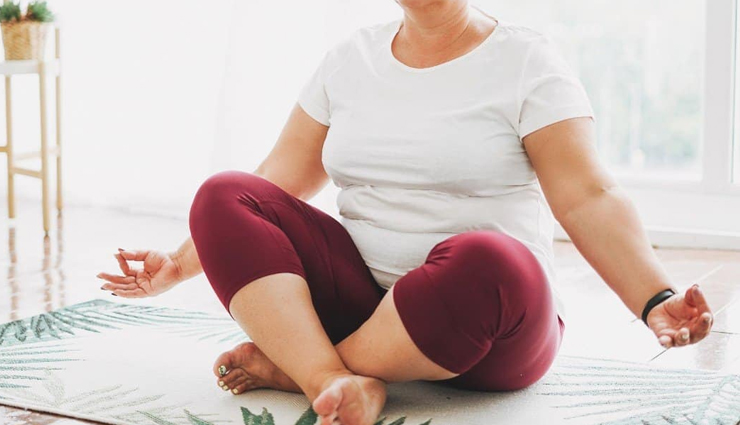
You can effectively reduce unwanted body fat by incorporating simple breathing exercises into your routine. Surprisingly, yoga breathing techniques for weight loss are not well-known, yet they can yield remarkable results. It's time to embark on a research journey to discover this ancient practice. To facilitate your exploration, we've compiled a list of some of the most effective yoga breathing techniques that enhance your flexibility and overall fitness. Let's begin!
Yoga breathing has the power to address what expensive exercise equipment and weight-loss workouts often cannot. Engaging in deep breathing enhances the body's oxidation process, leading to weight loss. This increased intake of oxygen enriches your bloodstream, providing extra energy for your workouts. Furthermore, proper breathing promotes a higher metabolism, indirectly aiding in weight loss. Certain breathing techniques even help stimulate your abdominal region, accelerating the burning of body fat. Now, let's delve into some of these yoga asanas.
# Kapalbhati
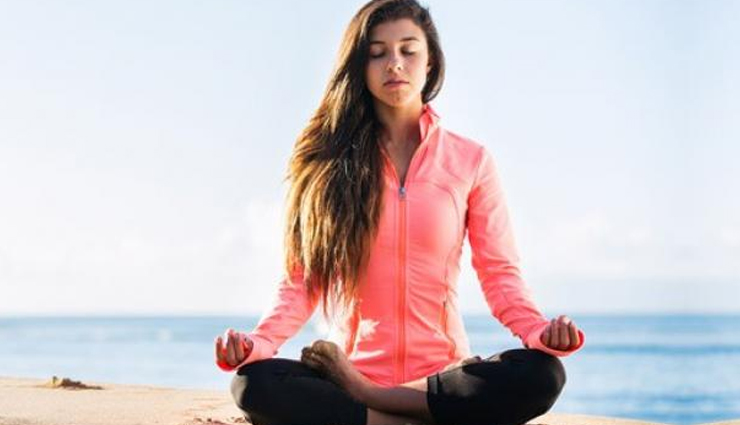
Kapalbhati is a yogic breathing exercise that involves forceful exhalations through the nose while keeping the inhalation passive. It's often practiced as part of pranayama (breathing exercises) in yoga for its numerous benefits, including improving lung capacity, cleansing the respiratory system, and increasing mental clarity. Here are the steps to perform Kapalbhati:
- Find a quiet and clean place to practice, preferably in a seated position. You can sit cross-legged on the floor or on a chair with your spine erect and hands resting on your knees, palms facing upward (in Chin Mudra).
- Close your eyes to focus your attention inward and help maintain concentration during the exercise.
- Start with a deep inhalation through both nostrils. This is not forceful but rather a gentle breath to prepare your lungs.
Here's the core of Kapalbhati:
- Exhale forcefully and quickly through your nostrils, contracting your abdominal muscles as you do so.
- Imagine you're pushing the air out in short bursts, and the inhalation should happen passively as your abdomen relaxes.
- The exhalation should be forceful, but avoid straining too much. The emphasis is on the exhalation.
- Continue this process of forceful exhalation followed by passive inhalation. Start with a few rounds and gradually increase the speed and number of exhalations per minute as you become comfortable.
- Aim for a steady, rhythmic pace. You can start with 20-30 exhalations per minute and gradually increase the speed as you build strength and endurance.
- Initially, practice for 1-2 minutes and then gradually extend your practice to 5-10 minutes or more as you progress.
- Pay attention to the movement of your abdomen. It should contract during exhalation and expand during inhalation. Ensure that your chest remains relatively still.
- After completing the desired duration, take a deep, relaxing breath in and exhale gently. Sit quietly for a moment, observing any changes in your body and mind.
- Open your eyes, and if you like, you can perform some gentle stretching or relaxation exercises to conclude your practice.
# Bhastrika
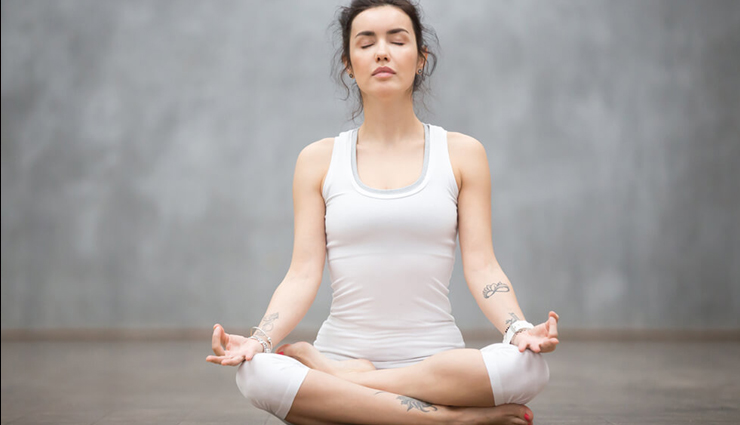
Bhastrika, often referred to as "Bellows Breath," is a pranayama (breathing exercise) in yoga known for its energizing and purifying effects. It involves rapid and forceful inhalations and exhalations through the nose. Here's how to do Bhastrika pranayama:
- Begin by taking a deep breath in through your nose. The inhalation should be forceful but not strained.
- As you inhale, expand your chest and abdomen fully. Imagine you are filling your lungs with fresh, invigorating air.
- Simultaneously, raise your arms from your knees to shoulder level, bringing your fists into loose fists with your thumbs inside. This movement helps accentuate the inhalation.
- Now, forcefully exhale through your nose. Imagine you are expelling all the stagnant and impure air from your lungs.
- As you exhale, bring your arms back down to their initial position, resting on your knees.
- Maintain a brisk, rhythmic pace. Start slowly and then gradually increase the speed as you become comfortable.
- Beginners can start with a moderate pace and 10-20 cycles. With practice, you can increase to 30-50 cycles or more per round.
- Perform Bhastrika pranayama for several rounds, with each round consisting of a specific number of cycles.
- After completing each round, take a few deep, calming breaths and observe any sensations in your body and mind.
- Initially, practice Bhastrika for 2-5 minutes.
- Over time, you can gradually extend your practice to 10-15 minutes or longer, depending on your comfort level.
# Anulom Vilom
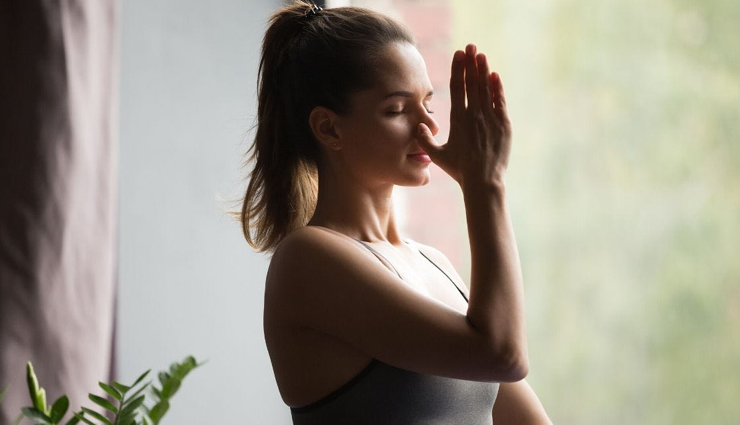
Anulom Vilom, also known as Nadi Shodhana or Alternate Nostril Breathing, is a popular pranayama (breathing exercise) in yoga that helps balance the flow of energy in the body and calm the mind. Here are the steps to perform Anulom Vilom:
Preparation:
- Find a quiet and clean place for your practice.
- Sit comfortably in a cross-legged position on the floor or on a chair with your spine erect. You can also perform this pranayama while sitting in a chair or lying down if that's more comfortable.
- Close your eyes and take a few deep, calming breaths to relax and prepare for the practice.
- Use your right thumb and right ring finger to manipulate your nostrils. Your other fingers should be relaxed.
Performing Anulom Vilom:
- Begin by taking a deep breath in through both nostrils.
- Exhale forcefully through the mouth to expel any stagnant air from your lungs.
- Use your right thumb to close your right nostril gently.
- Inhale deeply and slowly through your left nostril, filling your lungs.
- After the inhalation, use your right ring finger to close your left nostril while releasing your right nostril.
- Exhale slowly and completely through your right nostril, emptying your lungs.
- Inhale deeply and slowly through your right nostril, filling your lungs again.
- After the inhalation through your right nostril, close it with your right thumb.
- Release your left nostril by lifting your ring finger.
- Exhale slowly and completely through your left nostril.
- Inhale deeply through your left nostril.
- Continue this alternate nostril breathing pattern, switching nostrils after each inhalation and exhalation.
- Maintain a smooth, continuous, and relaxed rhythm. There should be no strain in your breath.
- Initially, practice Anulom Vilom for 5-10 minutes, gradually extending the duration as you become more comfortable.
- You can aim to practice for 15-20 minutes in each session.
- To conclude, after an exhalation through your left nostril, release your right nostril.
- Take a deep breath in through both nostrils, and then exhale slowly.
- Open your eyes and sit quietly for a moment, observing any changes in your body and mind.
# Bhramari
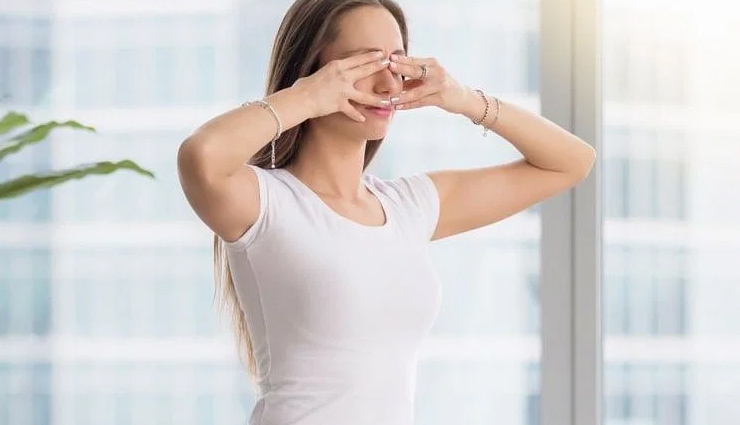
Bhramari Pranayama, often referred to as the "Bee Breath," is a calming and soothing breathing exercise in yoga. It involves creating a humming sound during exhalation, which resembles the gentle buzzing of a bee. Bhramari Pranayama is known for its ability to reduce stress and anxiety, promote relaxation, and improve focus. Here are the steps to perform Bhramari Pranayama:
Preparation:
- Find a quiet, peaceful place for your practice.
- Sit comfortably in a cross-legged position on the floor or on a chair with your spine erect. You can also perform this pranayama while lying down if that's more comfortable.
- Close your eyes and take a few deep, calming breaths to center yourself.
Performing Bhramari Pranayama:
- Place your index fingers on your ears' cartilage, just above the ear canal, and press gently to close the ear openings. This will help block external sounds and enhance your focus.
- Take a deep, slow breath in through your nose. Fill your lungs completely.
- As you exhale, close your lips gently but keep your teeth slightly apart.
- Now, exhale slowly and steadily while making a humming sound, like the buzzing of a bee.
- Allow the sound to be soft, continuous, and reverberate throughout your head. Focus on the vibration and soothing sensation in your head.
- Continue to hum throughout the exhalation phase. Exhale at a comfortable pace without straining.
- You can start with 3-5 rounds of Bhramari Pranayama, gradually increasing to 7-10 rounds or more as you become comfortable.
- After completing the desired number of rounds, release your fingers from your ears.
- Sit quietly with your eyes closed for a moment, observing the calming effects of the practice on your body and mind.
# Surya Namaskar
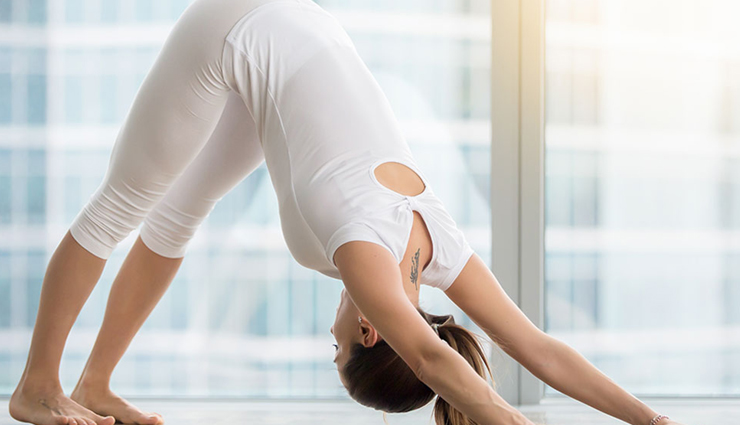
Surya Namaskar, also known as Sun Salutation, is a popular sequence of yoga asanas (postures) that is often performed as a warm-up or as a complete yoga practice in itself. It consists of a series of 12 poses that are performed in a fluid, flowing manner while synchronized with the breath. Surya Namaskar offers various physical and mental benefits and is a great way to start your day. Here are the steps to perform Surya Namaskar:
Step 1: Pranamasana (Prayer Pose)
- Stand at the front of your yoga mat with your feet together.
- Place your palms together in a prayer position at your chest, close your eyes, and take a few deep breaths to center yourself.
Step 2: Hasta Uttanasana (Raised Arms Pose)
- Inhale deeply.
- While inhaling, lift your arms upward, keeping them shoulder-width apart.
- Slightly arch your back and look up toward your palms, which are now raised overhead.
Step 3: Padahastasana (Hand to Foot Pose)
- Exhale slowly.
- Bend forward at the hips and bring your hands down to touch the floor on either side of your feet.
- If you're not flexible enough to touch the floor, you can bend your knees slightly.
Step 4: Ashwa Sanchalanasana (Equestrian Pose)
- Inhale as you step your right leg back into a lunge position.
- Your left knee should be bent, and your left foot remains between your hands.
- Arch your back and look up.
Step 5: Dandasana (Stick Pose)
- While holding your breath, bring your left leg back to align with your right leg.
- Your body should form a straight line from head to heels, like a plank.
Step 6: Ashtanga Namaskara (Salute with Eight Parts)
- Exhale slowly.
- Gently lower your knees, chest, and chin to the floor, keeping your hips up.
- Eight parts of your body – two hands, two feet, knees, chest, and chin – touch the ground.
- Your buttocks should be up in the air.
Step 7: Bhujangasana (Cobra Pose)
- Inhale deeply.
- Slide forward and raise your chest, head, and shoulders off the ground, arching your back.
- Your arms should be bent at the elbows.
Step 8: Parvatasana (Mountain Pose)
- Exhale slowly.
- Lift your hips and push back into an inverted "V" shape, like a mountain.
- Keep your heels on the ground as much as possible.
Step 9: Ashwa Sanchalanasana (Equestrian Pose - Other Leg)
- Inhale and step your right foot forward, placing it between your hands.
- Look up and arch your back as in Step 4.
Step 10: Padahastasana (Hand to Foot Pose)
- Exhale as you bring your left foot forward to meet the right one, bending at the hips.
- Your hands should be on the floor or reaching for your feet.
Step 11: Hasta Uttanasana (Raised Arms Pose)
- Inhale deeply.
- Rise up slowly while lifting your arms and arching your back as in Step 2.
Step 12: Pranamasana (Prayer Pose)
- Exhale and come back to the prayer position with your palms together at your chest.
- Take a few deep breaths, and then repeat the entire sequence, starting with your left leg in Step 4.
# Seated Spinal Twist
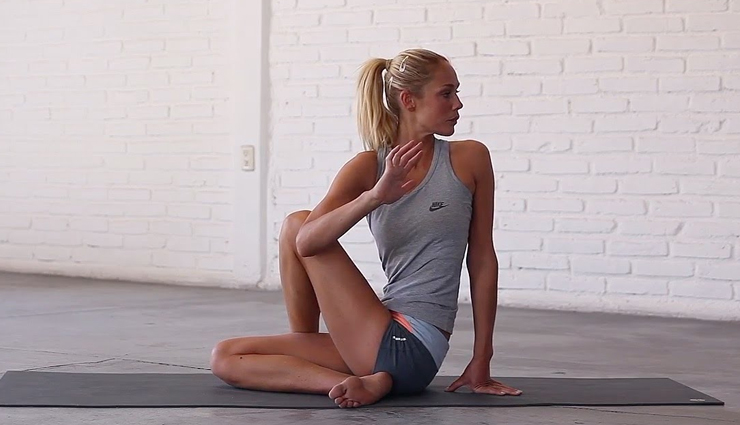
The Seated Spinal Twist, also known as Ardha Matsyendrasana, is a yoga pose that stretches and energizes the spine, massages the abdominal organs, and improves flexibility in the back and hips. Here's how to do the Seated Spinal Twist:
Step-by-Step Instructions:
- Begin by sitting on your yoga mat with your legs extended straight in front of you.
- Sit up tall, ensuring that your spine is straight and your shoulders are relaxed.
- Keep your feet flexed, and place your hands on the mat beside your hips for support.
- Bend your right knee and bring your right foot to the outside of your left thigh.
- Your right heel should be close to your left hip.
- Cross your right foot over your left leg, placing it flat on the ground.
- Ensure that your right knee is pointing upward, and your foot is firmly rooted on the mat.
- Inhale deeply and lift your left arm toward the ceiling, lengthening your spine as you do so.
- As you exhale, twist your torso to the right, bringing your left elbow to the outside of your right knee.
- Keep your right hand on the mat behind you for support.
- Press your left elbow against your right knee to deepen the twist, but avoid forcing it.
- Keep your spine tall and your chest open.
- Gently turn your head to the right and gaze over your right shoulder. Keep your neck relaxed.
- Hold the pose for 30 seconds to 1 minute, breathing deeply and maintaining the twist.
- With each inhalation, lengthen your spine, and with each exhalation, deepen the twist slightly.
- To release the twist, first, inhale and lift your head.
- Exhale as you slowly unwind, bringing your torso back to the center.
- Straighten your right leg and bring your left knee toward your chest.
- Repeat the entire sequence on the opposite side by bending your left knee, crossing your left foot over your right leg, and twisting to the left.
- After completing both sides, extend both legs straight and take a moment to sit with a tall spine, relaxing any tension.


