- Home›
- Hunger Struck›
- How To Make Chocolate Chips At Home
How To Make Chocolate Chips At Home
By: Sandeep Gupta Sun, 03 Nov 2024 12:12:37

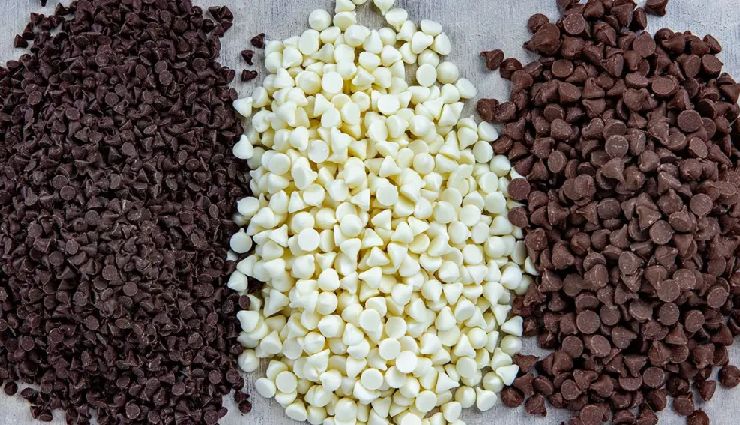
Chocolate chips are a staple ingredient in baking, perfect for cookies, muffins, and a variety of desserts. While you can easily purchase them at the store, making chocolate chips at home is not only simple but also allows you to customize the sweetness and type of chocolate you prefer. Here’s a step-by-step guide on how to make your own chocolate chips at home.

Ingredients for Chocolate Chips
1 cup of chocolate (semisweet, dark, or milk chocolate)
1 teaspoon of coconut oil or vegetable shortening (optional, for smoothness)
A pinch of salt (optional, enhances flavor)
Equipment Needed
Microwave-safe bowl or double boiler
Baking sheet
Parchment paper or silicone baking mat
Piping bag or resealable plastic bag (optional)
Refrigerator or freezer
-1730616147-lb.jpg)
How to Make Chocolate Chips at Home
To begin, choose your chocolate type—semisweet, dark, or milk chocolate—based on your taste preferences. You can also mix different types for a unique flavor. Next, melt the chocolate using one of two methods: the microwave method or the double boiler method. For the microwave, place the chocolate in a microwave-safe bowl and heat it in 30-second intervals, stirring after each until fully melted and smooth. For the double boiler, fill a saucepan with a few inches of water and bring it to a simmer, then place a heatproof bowl on top (making sure it doesn’t touch the water) and add the chocolate to the bowl, stirring until melted. If you desire a smoother consistency, add coconut oil or vegetable shortening to the melted chocolate.
Once your chocolate is melted, prepare a baking sheet by lining it with parchment paper or a silicone baking mat to prevent sticking. After that, transfer the melted chocolate into a piping bag or a resealable plastic bag with a corner snipped off, which can be used to pipe small drops of chocolate onto the baking sheet. Pipe small drops about the size of standard chocolate chips, leaving some space between each drop as they will spread slightly when cooling.
Next, place the baking sheet in the refrigerator or freezer to allow the chocolate to harden. This typically takes about 15-30 minutes, depending on the thickness of the chips. Once the chocolate chips are set, gently peel them off the parchment paper or silicone mat and store them in an airtight container. They can be kept in the refrigerator for up to two weeks or in the freezer for several months.
For added flavor, consider mixing in a pinch of sea salt, vanilla extract, or spices like cinnamon or chili powder before melting the chocolate. If you prefer larger chips, simply pipe bigger drops of chocolate, but keep in mind they may take longer to set. For professional-quality chips that stay shiny and don’t melt as easily, consider tempering the chocolate by melting and cooling it to stabilize it. Making your own chocolate chips at home is a fun and rewarding process that can elevate your baking game. Enjoy your fresh, homemade chocolate chips in your favorite recipes!
Related Stories:
# 5 Types of Pancake Recipes You Need to Try
# 5 Healthy Oats Snacks You Can Make at Home
# 5 Types of Idli Recipes to Try at Home
# 5 Delicious Pulao Recipes You Need to Try


