- Home›
- Hunger Struck›
- Recipe- Delicious Swiss Roll Cake
Recipe- Delicious Swiss Roll Cake
By: Kratika Mon, 12 Oct 2020 09:41:43

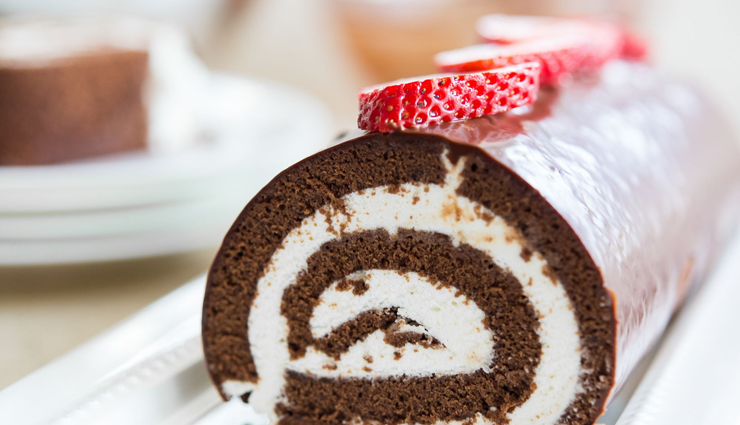
Swiss roll cakes remind me of my days in Scotland. It was there that I first saw these roll cakes filled with chocolate filling and strawberry jams. They were quite popular there and I would often buy them whenever I would go for grocery shopping. No wonder I gained so many pounds munching on these cakes all the time!
So making them has been on my “to bake list” for long now. I wanted to bake not the regular swiss roll but the patterned one. I knew it would be a challenge but when it comes to baking I’m always up for it. The pattern just makes the cake look prettier. You can either use print outs to trace the pattern on parchment paper or draw free hand.

Ingredients
¾ cup + 4 tablespoons heavy cream
4 tablespoons sugar
½ teaspoon vanilla extract
2 tablespoons unsweetened cocoa powder
1 egg white
2 tablespoons sugar
3 tablespoons all purpose flour
3 tablespoons cocoa powder
1.5 tablespoon butter at room temperature
1 tablespoon water optional
¾ cup all purpose flour
5 large eggs separated
½ cup + 2 tablespoons sugar
3 tablespoons oil
½ teaspoon baking powder
? teaspoon salt
1 teaspoon vanilla extract
¼ cup water
¼ teaspoon cream of tartar
confectioners sugar for dusting the tea towel

Method
* Place the bowl and the wire whisk attachment in the fridge for 30 minutes before making the filling. If you are using hand mixer, place the bowl and mixer in the fridge in the same way.
* After 30 minutes, mix together sugar, cocoa powder, vanilla and 4 tablespoon of cream. This will form a smooth paste.
* Add 3/4 cup of cream and beat using the wire whisk attachment of your stand mixer until stiff peaks form.
* Place in the refrigerator while you work on the cake.
* Take a print out of the pattern that you want on the cake or draw free hand,
* Line a 18 x 13 inch sheet pan with parchment paper and place the pattern sheet beneath it. Set aside.
* In a bowl whisk together egg white and sugar. Then add flour, cocoa powder and butter. Mix till you get a smooth paste. You can add 1 tablespoon of water if the mixture appears too thick.
* Pipe the mixture in a pastry bag fitted with a round tip. I used Wilton tip 2.
* Trace the pattern on the parchment paper.
* Once done, place the sheet pan in the freezer for 30 minutes.
* Preheat the oven to 400 F degrees.
* Separate the eggs. This is done best when eggs are cold.
* In a bowl, mix together flour, baking powder and salt. Set aside.
* Using a mixer whisk together the eggs yolks, water, vanilla, oil and 1/4 cup + 2 tablespoon of sugar till the mixture turns pale. This will take 6-7 minutes.


